The first project for the IDEA-292 course (Interdisciplinary Project Lab) was to create a paper lampshade within several design constraints. The assignment was intended to encourage students to explore the relationships between form and material.
Design Constraints
“The shade is to be made from only white paper and one type of glue. The shade must be self-supporting. The shade must be designed to project well beyond a 40W bulb/LED equivalent, projecting directly from a vertical surface. The shade must be sufficiently rigid. At least one aspect of the shade must be fabricated using CAD software. The shade may be no more than 2 feet wide at its widest point but may be any height.”
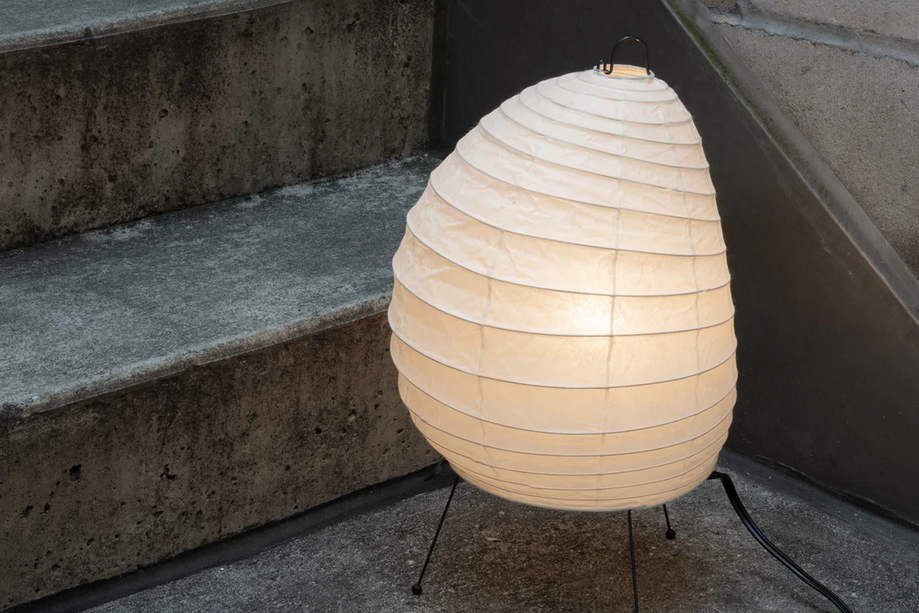
While looking at existing paper light fixtures, I continued coming across variations of collapsible paper lanterns. Looking at examples including Noguchi Light Sculptures and Ikea lamps I kept noticing how inflated paper could hold light beautifully. I thought back to origami water bombs. Growing up, I used to fold these small paper balloons with friends. By combining these pockets of air with light, I thought I could make something interesting.
Paper artist Ilan Garibi describes tessellation as: “a covering of an infinite geometric plane with repetitive geometric shapes, without gaps or overlaps.” In his book Origami Tessellations for Everyone, Garibi breaks the concept down further. He explains that tessellations start with a single pattern of folds known as a molecule. The folding pattern of the molecule is then repeated across the entire plane until the end result lies flat. Garibi provides a set of requirements to check whether or not a molecule will properly tessellate:
- “The edge of a single molecule must be the original edge of the sheet of paper it was folded from when completed.”
- “Each molecule must be rotationally symmetrical, meaning that it must have the same pattern of folds on each side.”
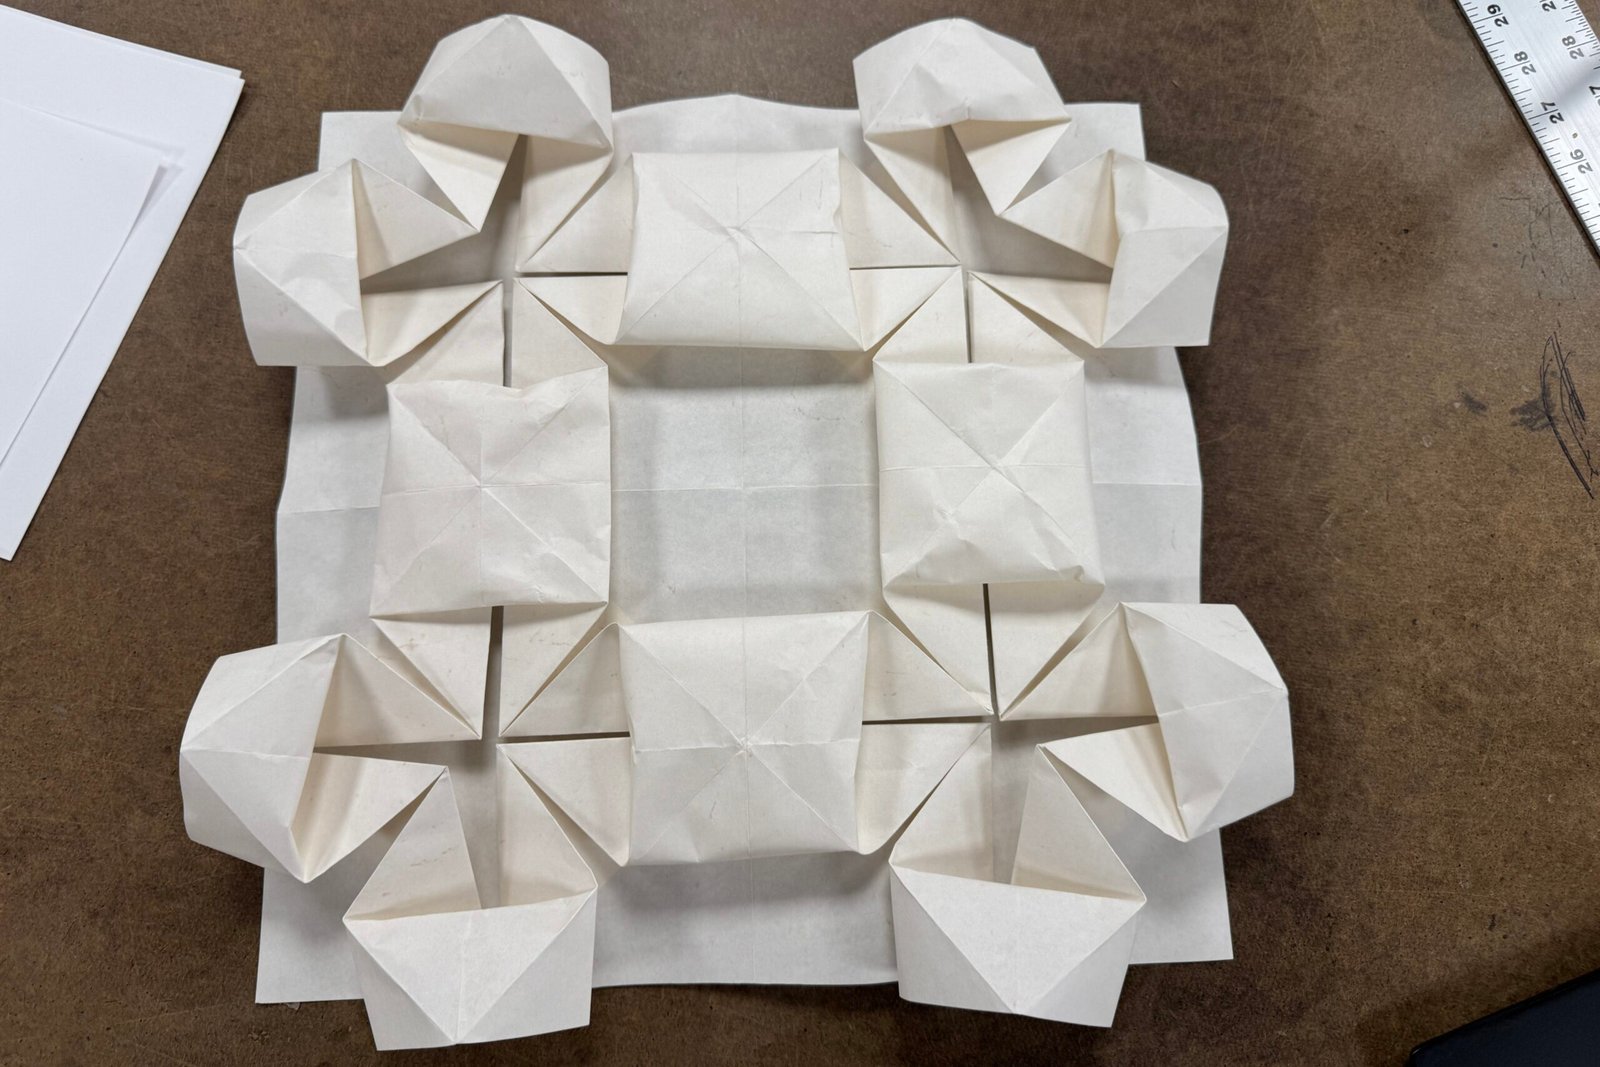
For my first tessellation experiment, I chose to fold Garibi’s Red Flower pattern on a 2×2 grid. This was straightforward enough, and I was able to learn a lot about tessellation from the experience:
- Tessellating is almost like a controlled crumpling of paper. Since all the folds are connected, you have to work on them simultaneously.
- It’s important to be precise when tessellating. One inaccurate fold will misalign the entire final product.
- Working between both the front and back of the paper can help. Using ballpoint tools, such as a pen or bone folder, can also be helpful at times.
I had an opportunity to speak with a paper artist, Ben Parker, about tessellations, and he suggested that I try using a laser cutter to pre-score the fold lines of my tessellation patterns. Parker’s suggestion was extremely helpful, as using a laser would allow me to create bidirectional score lines. I drafted my first tessellation pattern in Adobe Illustrator and used VCarve Pro to slice the file. I learned the following about creating laser-cut tessellations:
- All overlapping lines must be gapped at intersections to prevent holes from forming when folded.
- Holding cut paper up to a light reveals pinpricks along the fold lines.
- Using the min/max power feature in VCarve allows the score lines to taper in intensity, reducing stress on intersections.
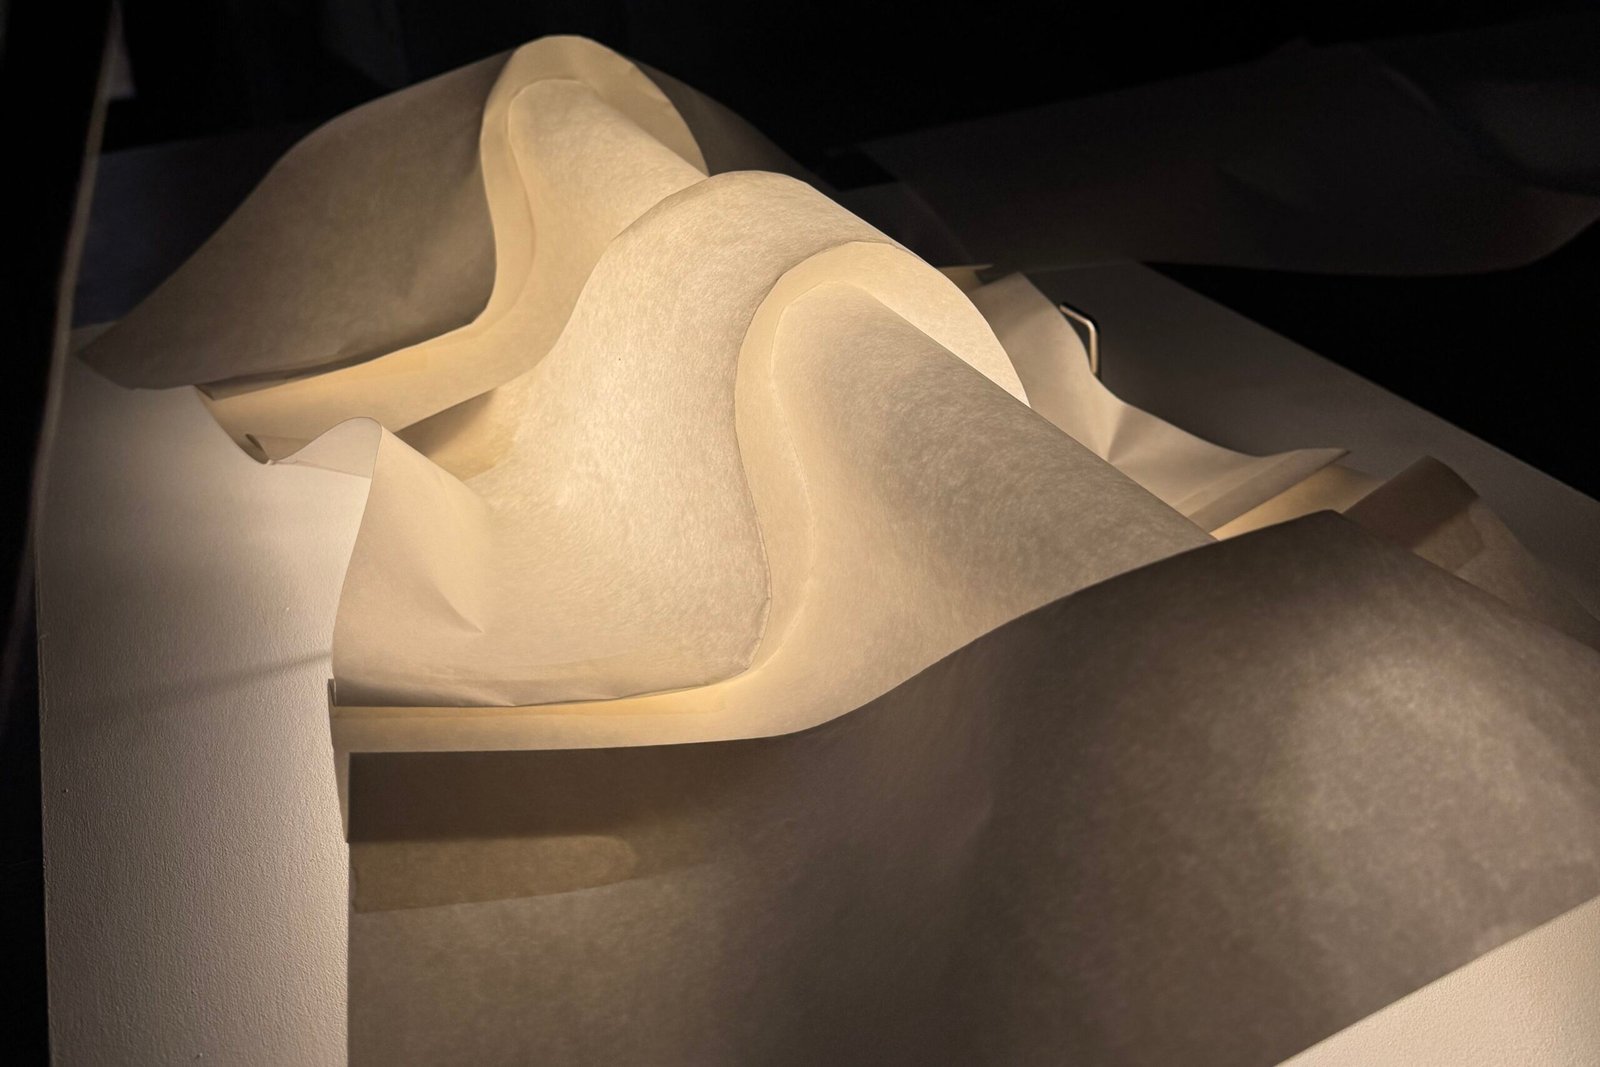
While looking for more tessellation patterns to try, I came across the work of computer scientist David Huffman. In between lectures at MIT, Huffman would fold sheets of graph paper into complex works of art. One of his works that especially caught my eye was his “One Column” fold. It uses two parallel lines that both dip at slightly different intensities to create a nested tunnel-like form. I duplicated and inverted the fold on a single sheet of elephant hide paper to create a contained rod running the length of the paper. I was really happy with the end result.
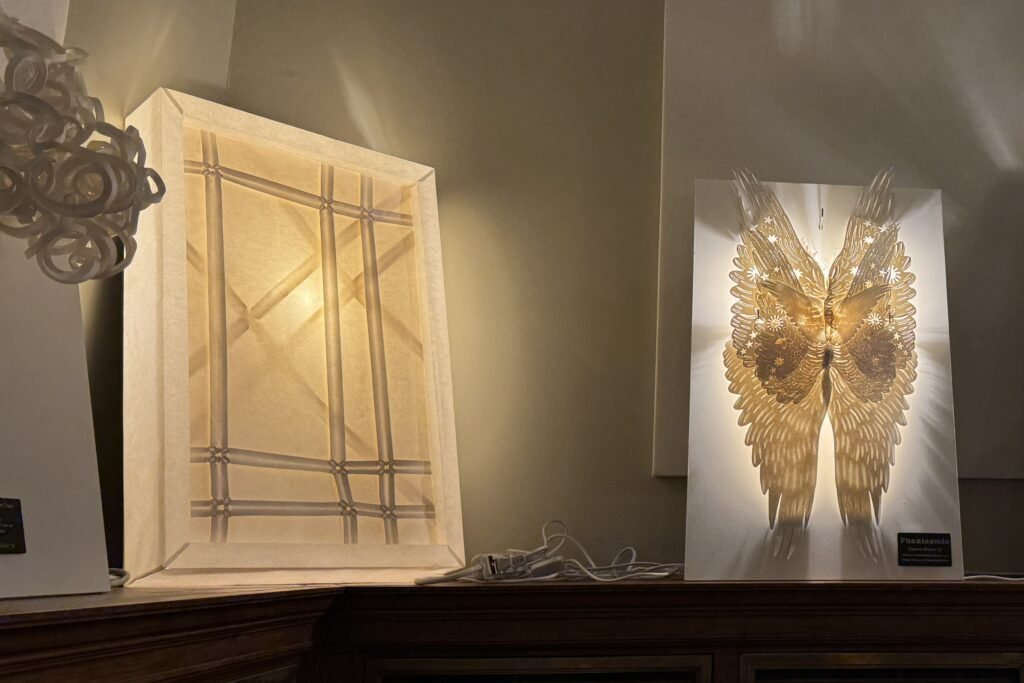
To finalize the project, I decided my lampshade would span the whole area of the board. Taking inspiration from Japanese Kumiko panels, I created a thick frame with card stock. I then used tiling, a method of spacing modules across a plane, to face the frame with two layers of tiled Hydrangea tessellations. I chose the Hydrangea tessellation because it features thick arms extending in the four cardinal directions, which create nice lines that span the plane when tiled.
Tessellations take a long time to complete, but they’re really fun. I’d highly recommend them. I feel like folding a big piece of paper is a pretty fun alternative to doing a jigsaw puzzle. I don’t like jigsaw puzzles very much—too many pieces to keep track of. Not really my cup of tea.